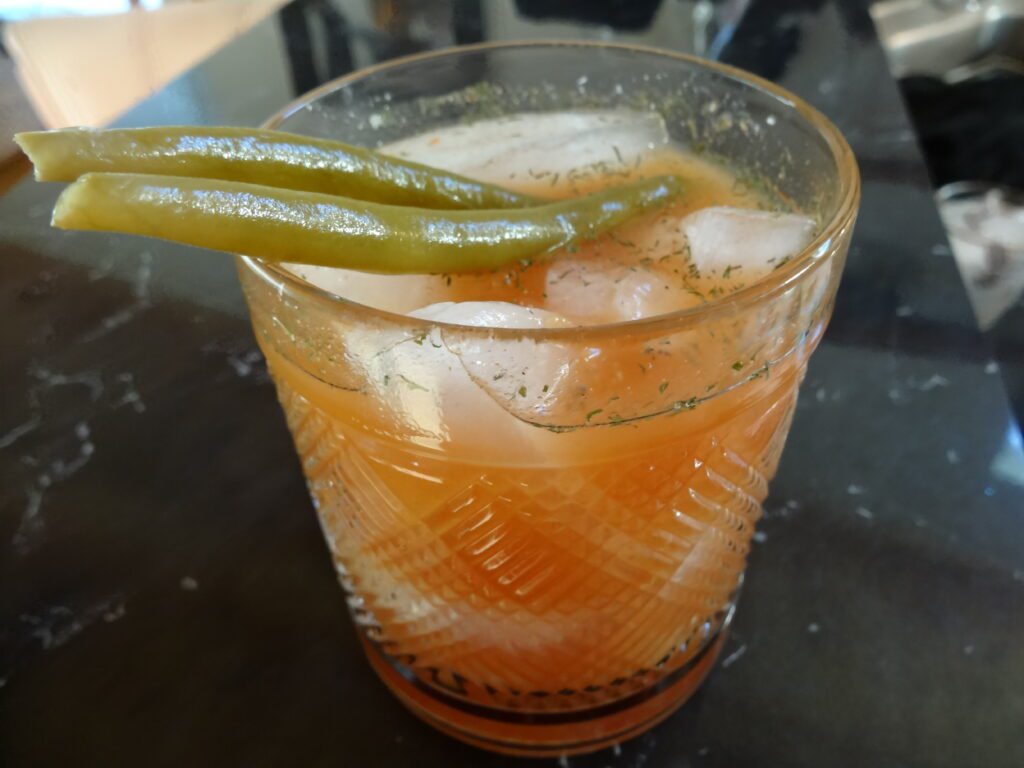
This recipe for Pickled Green Beans is a favorite in our house! They’re crisp and even a bit spicy. We use them all throughout the winter and spring until the next crop is ready.
(This page may contain affiliate links, which means I may earn a small commission if you click through and make a purchase. You can read our Affiliate Disclosure here.)
Heidi and I have a love-hate relationship with the fall time of the year. The bad news is that there is a killing frost just waiting to happen. It will crush the delicate flowers that add so much to our landscaping and put a period at the end of the sentence that is called the growing season.
Fall Colors & Harvest, Toppers for Cocktails
It also brings an end to the allergy season, providing relief for those of us who are not immune to the ravages of mold and pollen.
Fall also provides the colors that signal the approaching hibernation of all things green. However, fall also means that our last crop of garden goodies is ready for harvest. In particular, the last picking of green beans will be prepared for their preservation. These will be put in jars to be stored in our basement “cellar” where they will await a winter’s day to be opened and enjoyed in myriad ways – just like on a summer day – once again.

We prefer bush-type Blue Lake green beans (heirloom variety: Blue Lake 274), as they tend to be straighter. Yellow beans may be used as well. These beans are great as additions to salads. They are also fun as toppers for cocktails such as a Bloody Mary (made with juice from garden tomatoes) or a martini. They can even be used as appetizers (eat them right out of the jar!).
Second Crop
Since we always try to plant a second crop of beans – right around the 1st week of July – late September/early October brings enough beans to double this recipe. That way, we can enjoy them all winter!
(By the way, early July is not a bad time to also plant some dill seeds since, although dried dill can be substituted, fresh dill from the garden will yield a better flavor, and it should be ready right about when your beans are.)
Required Equipment
- Canner with rack
- Pint jars (16-oz.)
- Rings and lids
- Canning funnel
- Ladle
- Jar Lifter
- Measuring spoons
Ingredients
- 2 pounds (approx.) garden green beans – washed and trimmed
- Dill heads – 1 per pint jar
- Cloves garlic – 1 per pint jar
- Cayenne pepper 1/8 to ¼ teaspoon per pint jar (season them per your taste)
- ¼ cup salt
- 2 ½ cups apple cider vinegar
- 2 ½ cups water
Instructions
It’s important to have all of your ingredients and equipment out and ready to go before you begin the process. If everything is not 100% ready to go, the canning process gets a bit frustrating and possibly chaotic.
Pick beans when they are approximately as long as a pint jar is tall. Wash and trim them so they are just a bit shorter (approx. ½ inch) than the jar is tall. Be sure to save the ends and trimmings to have for dinner or add to a salad or casserole.
While bath/processing water is heating to a boil (pictured here), prepare pickling liquid in a separate pan by combining vinegar, water, and salt. Bring it to a boil as well.
To the bottom of a hot/sterilized jar, add cayenne pepper, 1 clove garlic (larger cloves may be cut into smaller pieces), and one dill head.
Pack beans, lengthwise, tightly into jars. Pour boiling hot pickling liquid over beans to within ¼ inch of top of jar. Remove air bubbles and adjust and tighten caps.
Place sealed pints back into hot water bath (The water level must be above the level of the tops of the lids on the jars). Return water to boiling and process pints in the boiling water for ten (10) minutes. Remove from water and cool. The lids will “pop” as the liquid cools and contracts. This lets you know the jars are well-sealed. This recipe will yield approximately 4-6 pints of tasty, pickled beans.
As always, I hope to see you On the Lake!